Celestron Dew Heater Ring – Protect Your Optics from Condensation
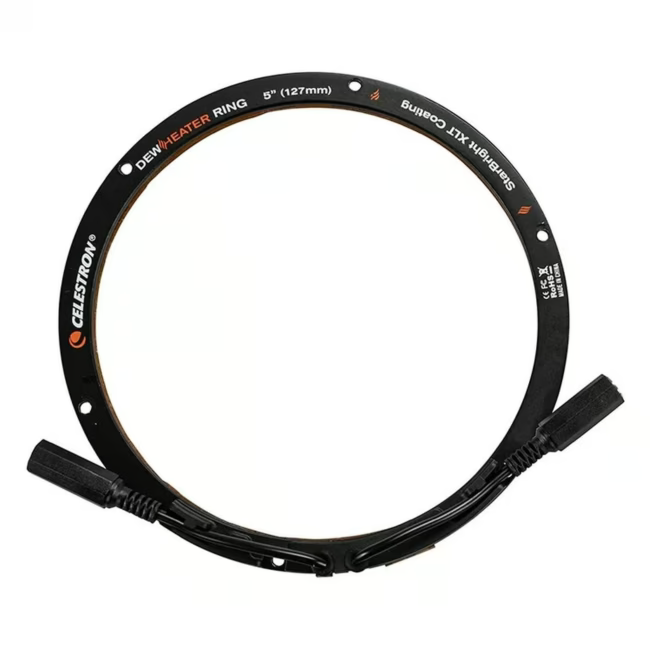
The Celestron Dew Heater Ring is an accessory designed for Schmidt-Cassegrain telescopes (SC) with 5-inch aperture. It wraps around the corrector lens and effectively prevents the formation of dew and condensation during night observations or astrophotography.
Aluminum construction ensures even heat distribution and durability
Gentle heating protects optics without overheating
Ideal for astrophotographers who need clear images even in humid nights
What sets the Celestron Dew Heater Ring apart
Unlike simple heater bands, the aluminum ring distributes heat evenly around the entire front lens. This prevents dew without creating thermal turbulence. The material is corrosion-resistant and weighs only 500 g, so it doesn't affect telescope balance.
Ideal for...
Amateur astronomers with a 5-inch SC telescope in humid regions – near coasts or in alpine valleys. Also for astrophotographers who take long exposures and must avoid any disturbance from condensation.
How to use the Celestron Dew Heater Ring
Simply place the ring around the corrector lens of your SC telescope. Power is supplied via a USB port or optional power adapter. Temperature can be adjusted manually or with an optional controller. After observing, remove the ring and store it dry.
Celestron is a leading manufacturer of telescopes and astronomical accessories based in Torrance, California. The brand is known for innovative optics and reliable products for amateur and professional astronomers.
A dew heater ring is placed around the front lens of a telescope and gently warms it to prevent condensation of moisture (dew). This keeps the optics clear for observations and photography.
The ring is specifically designed for Schmidt-Cassegrain (SC) telescopes with 5-inch aperture, e.g., from Celestron, Meade, or other brands.
The ring is made of aluminum, which ensures even heat distribution and corrosion resistance. It weighs 0.50 kg.
The package includes the dew heater ring itself. A power adapter or USB cable must be purchased separately.
Place the ring around the corrector lens or tube. It is secured by a clamping mechanism without tools. Then connect the power supply.
Subscribe to the newsletter
New arrivals, promotions and exclusive offers — straight to your inbox.




Please complete your information below to login.
Sign In
Create New Account